Let's Get Emulating!
So to get started playing with an Amiga the easiest thing to do is install an Emulator. The UAE Emulator is available for all kinds of platforms. You can even run it on a Raspberry Pi, I use a Mac, so that's what I'm going to talk about here.
FS-UAE
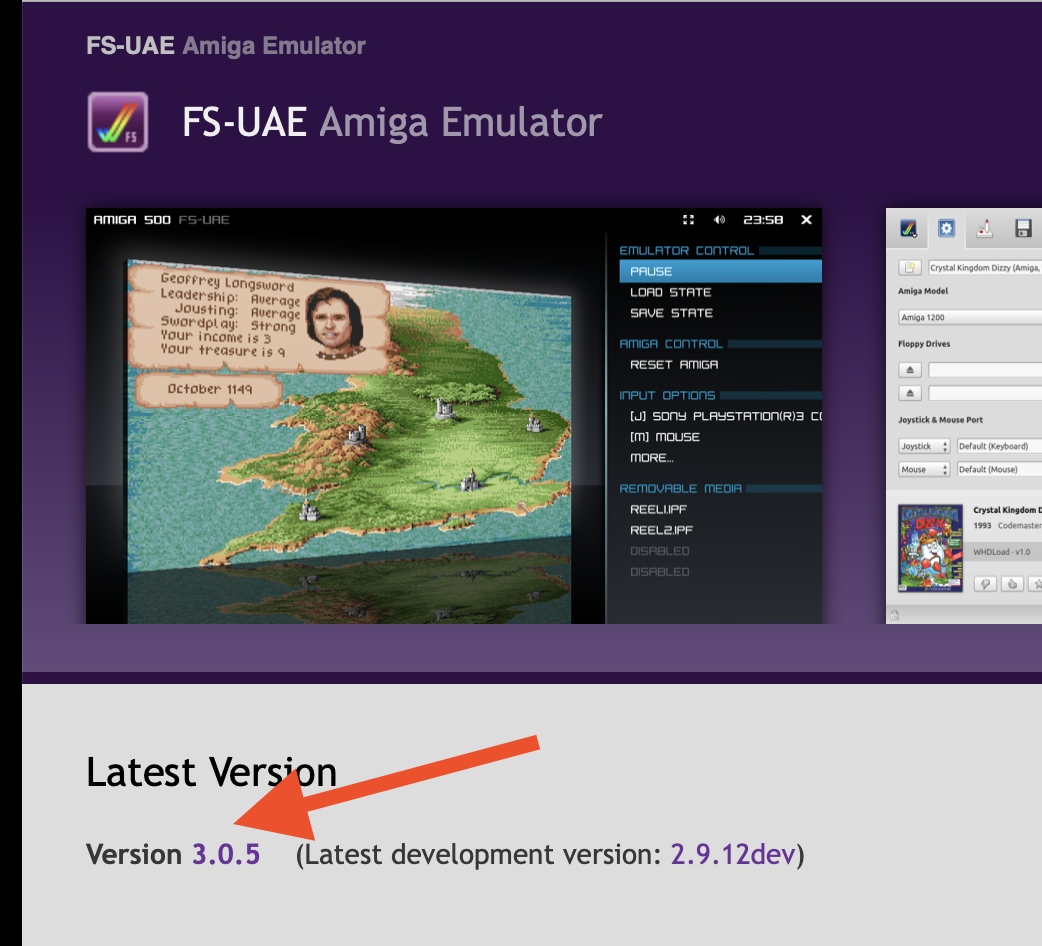
You'll want to head to https://fs-uae.net and click on the "latest version"
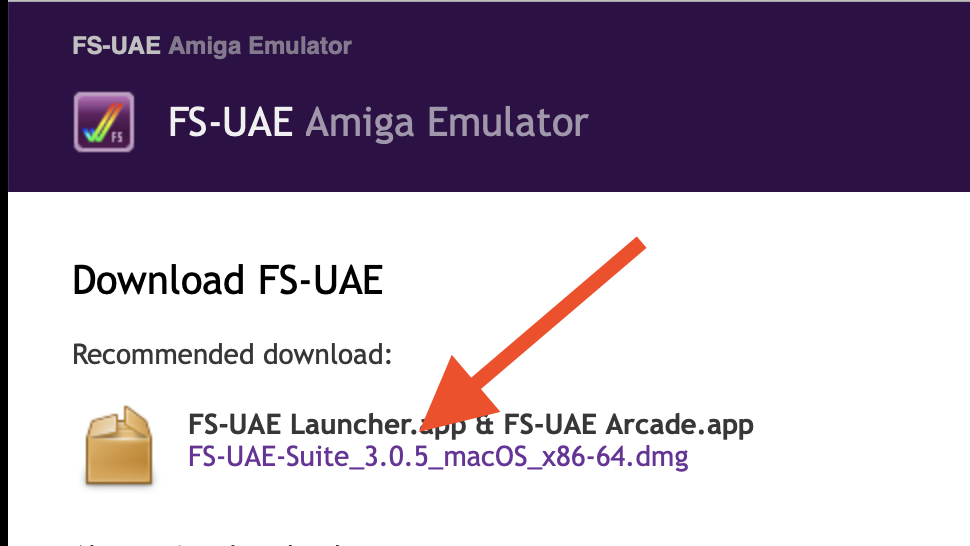
The choose the recommended download.
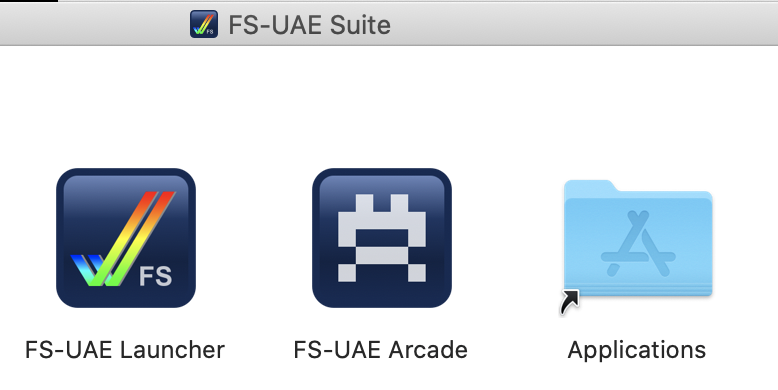
Drag the FA-UAE icons to the Applications shortcut and you're done. You can close and delete the DMG. I haven't used the arcade app. I assume its for games and I don't much care about them so you can probably save a few Mb by just copying the launcher.
Kickstart and Workbench
The Amiga stored a bunch of its operating system on ROMs inside the machine called Kickstart. This allowed the OS to load up from an 880K floppy disk because lots of what was required didn't need to be on the disk. Workbench is windowing UI for the Amiga. Both the ROMs and software are proprietary and if you don't have a real Amiga you can use, you'll need to buy them somewhere.
The last "official" version of the Kickstart/Workbench was 3.1 back in the early 90s and this version can still be purchased via Cloanto on the AmigaForever CD.
More recently a team of volunteers has been updating that classic Software and released first 3.1.4 and now 3.2. This updated Kickstart/ROM combination can be purchased via Hyperion Entertainment. The rest of this tutorial assumed 3.1 from AmigaForever for simplicity. 3.1.4 is almost identical except for an extra disk, 3.2 is distributed on CD and is more complicated.
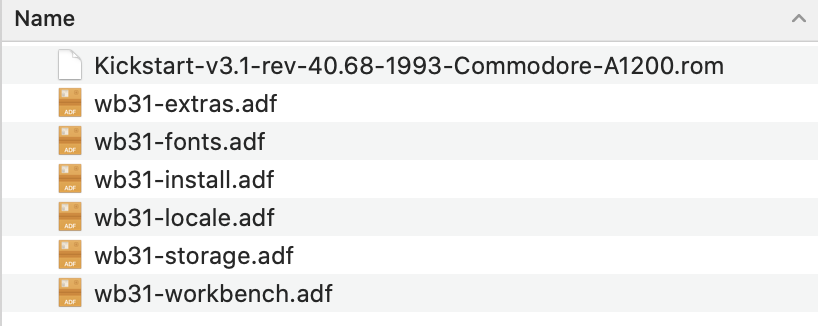
Either way, you should end up with the following files available to you somehow.
Lets Build an Amiga1200
OK. We have our emulator, and we have our Kickstart ROM image and we have 6 floppies that represent the Workbench disks. Lets make a machine.
Start up FS-UAE
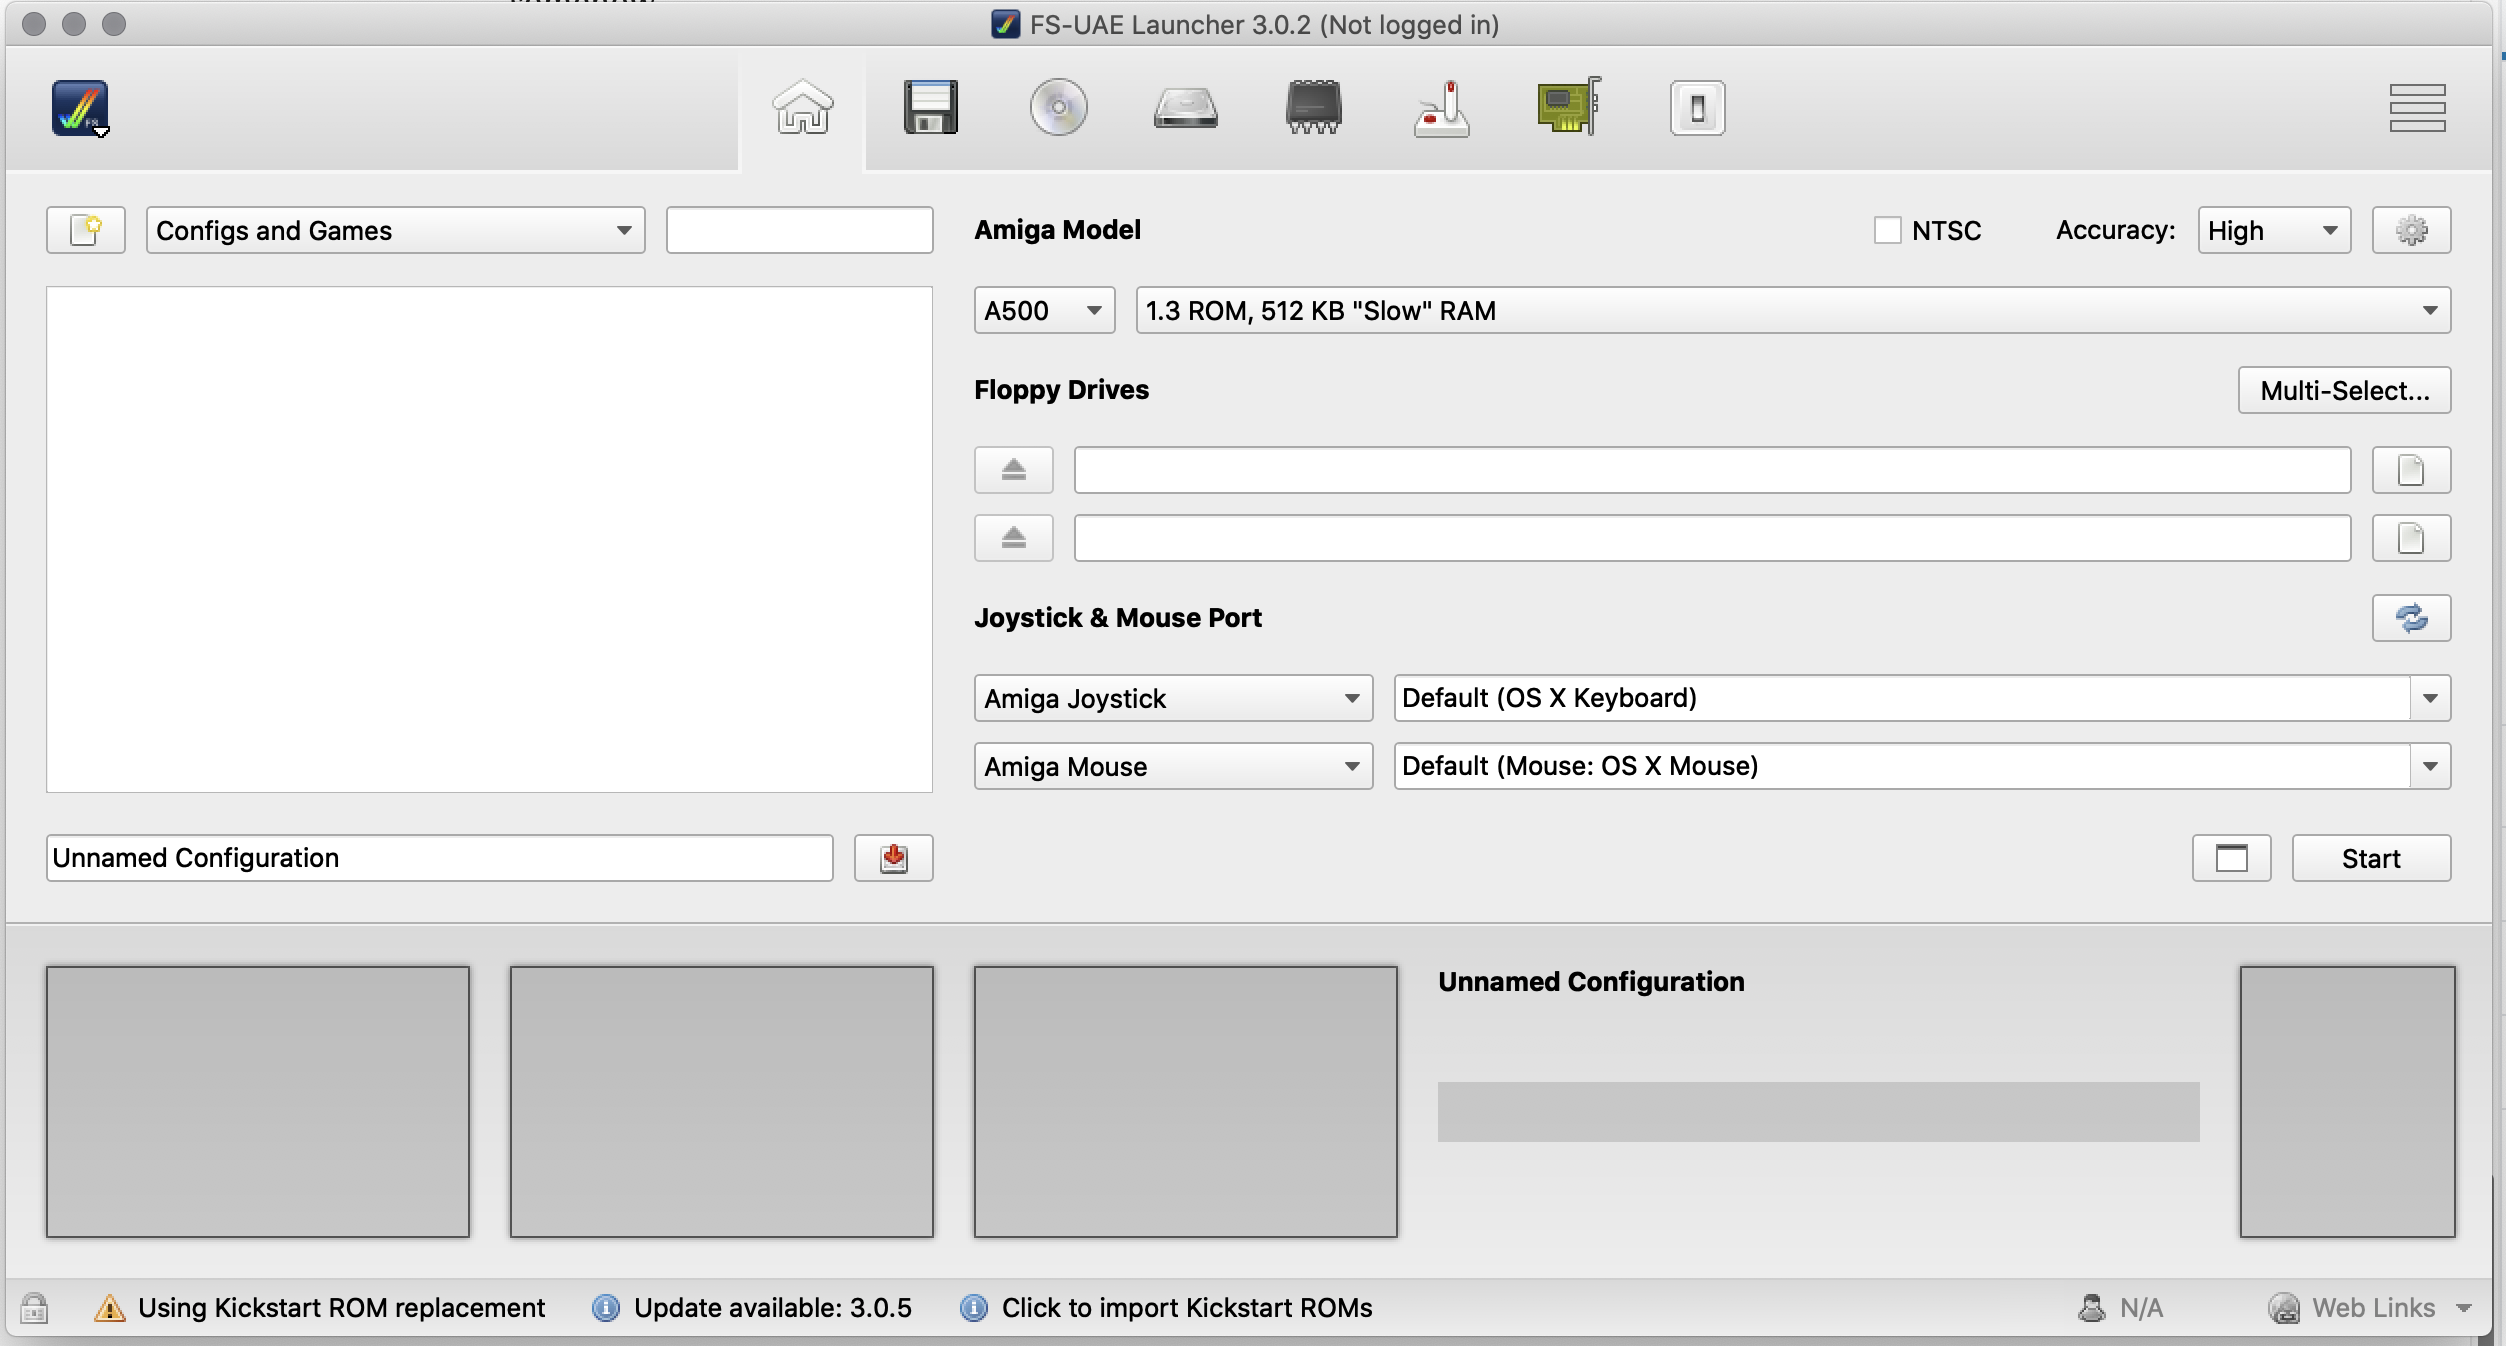
The first thing we're going to do is import the Kickstart ROM. Whether you just have the 3.1 ROM I mentioned above or you bought the AmigaForever DVD with a bunch of ROMs, we can click that blue square in the top left and choose "Import Kickstarts".
Navigate to the parent folder of the ROM files and click import. You should see something like this:
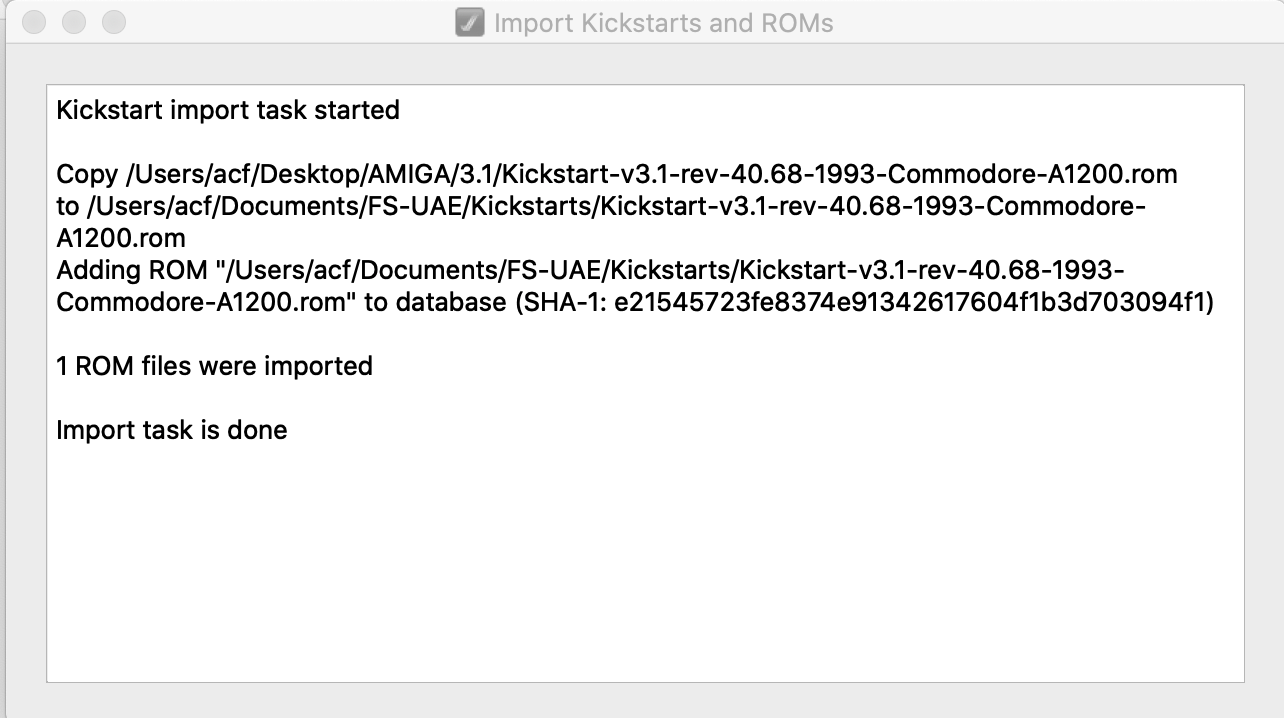
In my case, its just a single ROM for the A1200, you may have ROMs for other machines too. Close the windows so you are back at the main screen.
I still haven't figured out what the dark grey strip at the bottom is for. I've never seen anything useful in it.
OK, lets make an A1200.
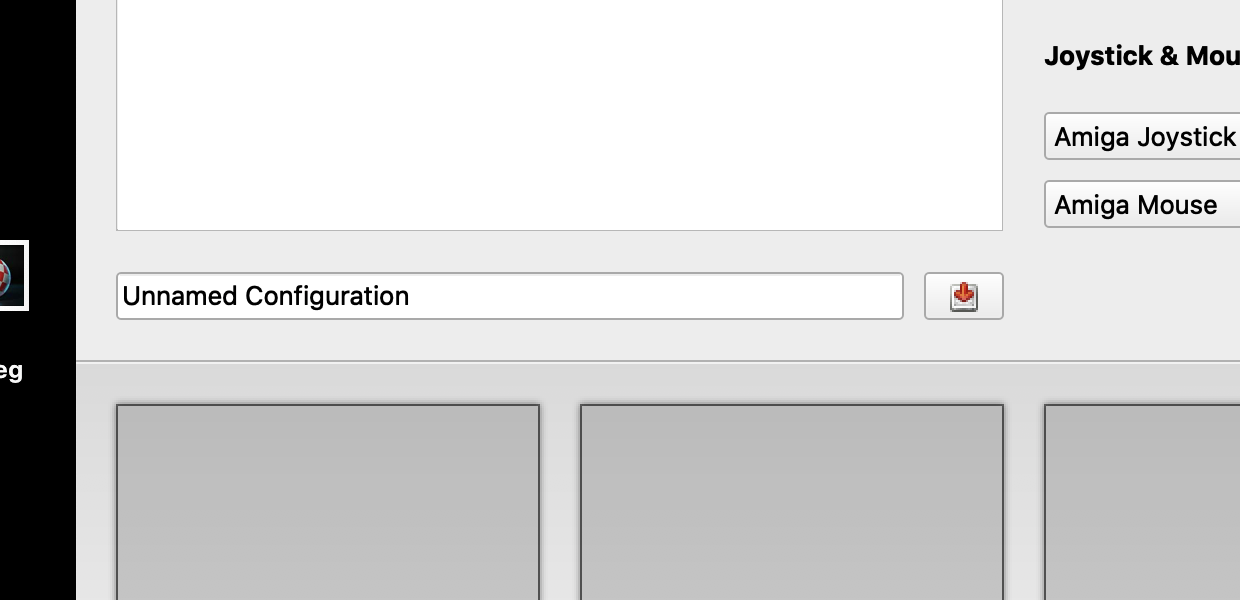
Go to the text field where it currently says "Unnamed Configuration" and change that to "A1200".
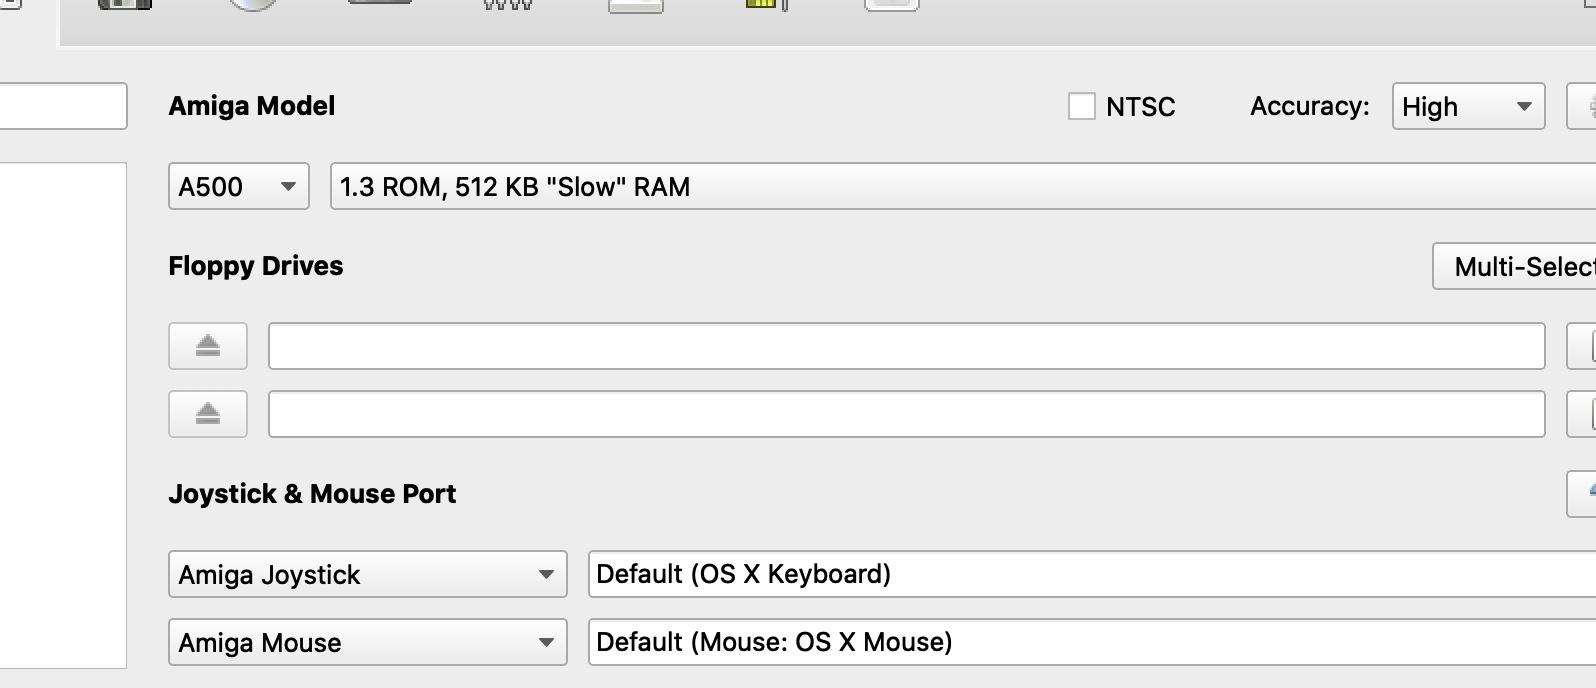
Move up and right to the Amiga Model where we'll switch the first combo to A1200 and the second to "3.1 ROM, 68020 CPU". Dont be tempted by the accelerators as they need their own ROMs which we haven't downloaded yet.
We're going to move along the icons on the top bar, setting where we need to. We've been on the "Home" icon, lets move to the floppy icon.
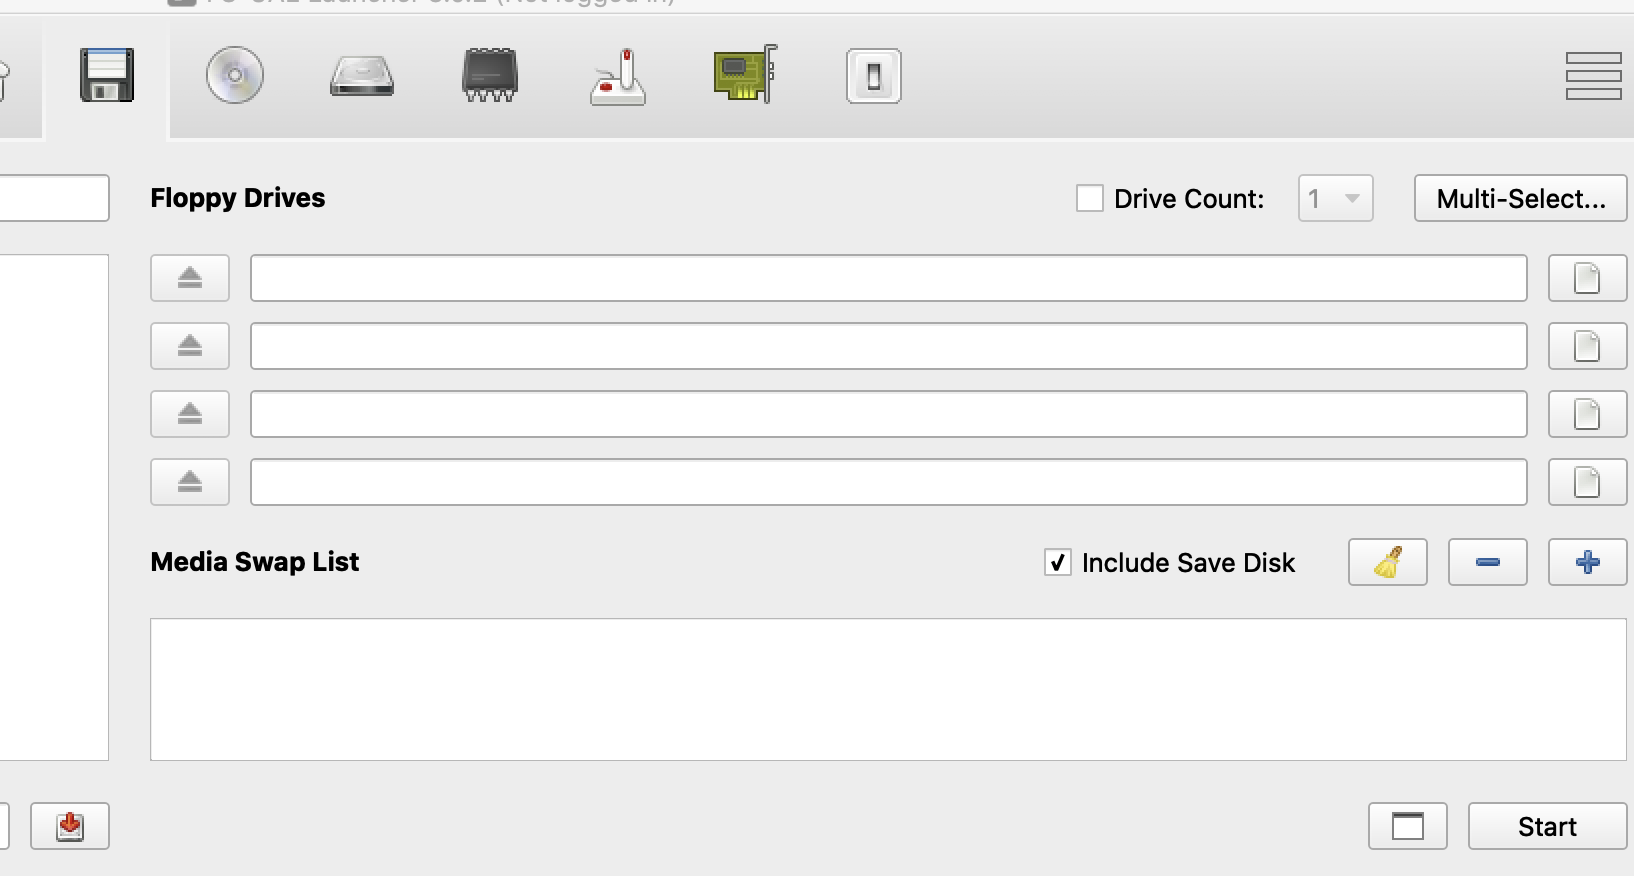
We're going to set Drive Count to 4. This pretends we have 4 floppy drives attached to the amiga and will make out workbench installation a little easier.
For each of the four disk drives, use the document icon at the right to choose one of the workbench 3.1 ADF files we downloaded earlier. Ensure the first drive contains the Install disk, then add Workbench, Extras and Locale to the other three. This simulates those four disks in those four drives when the machine boots.
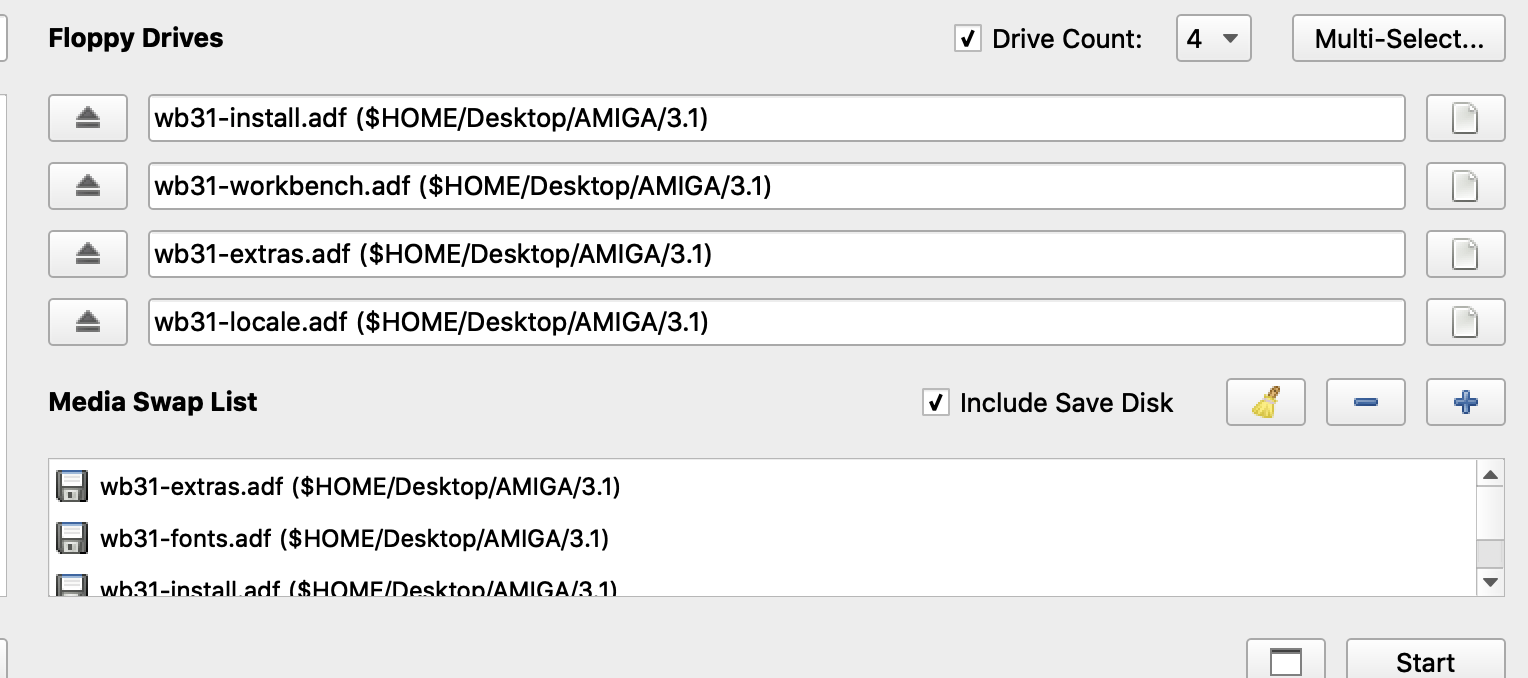
Now, in order to be able to "fake insert" other floppies while the system is running, we need to tell FS-UAE in advance that we're going to need them. We do that by adding the ADF files to the Media Swap List below.
In the "Media Swap List" section, add *all* the floppies, even the ones we already picked. I found out the hard way if you eject one of them you can't reinsert unless its in the swap list. Order is not important, but hit the + button and add all of the ADF files.

I don't know what the save disk is, I've never used it.
We can skip the CD-ROM tab for now. The next section is Hard Drives.
FS-UAE supports a few different hard drive types, but by far the easiest is a "folder". Here we tell FS-AUE to use a folder (by default created in ~/Documents/FS-USE/Hard Drives/...) as a hard disk. This is super flexible as it allows us to drag and drop files to and from the amiga using the Finder.
In the first entry, select the folder icon to the right. That will open a File dialog in the right place. Hit new folder and call our new folder "System3..1".
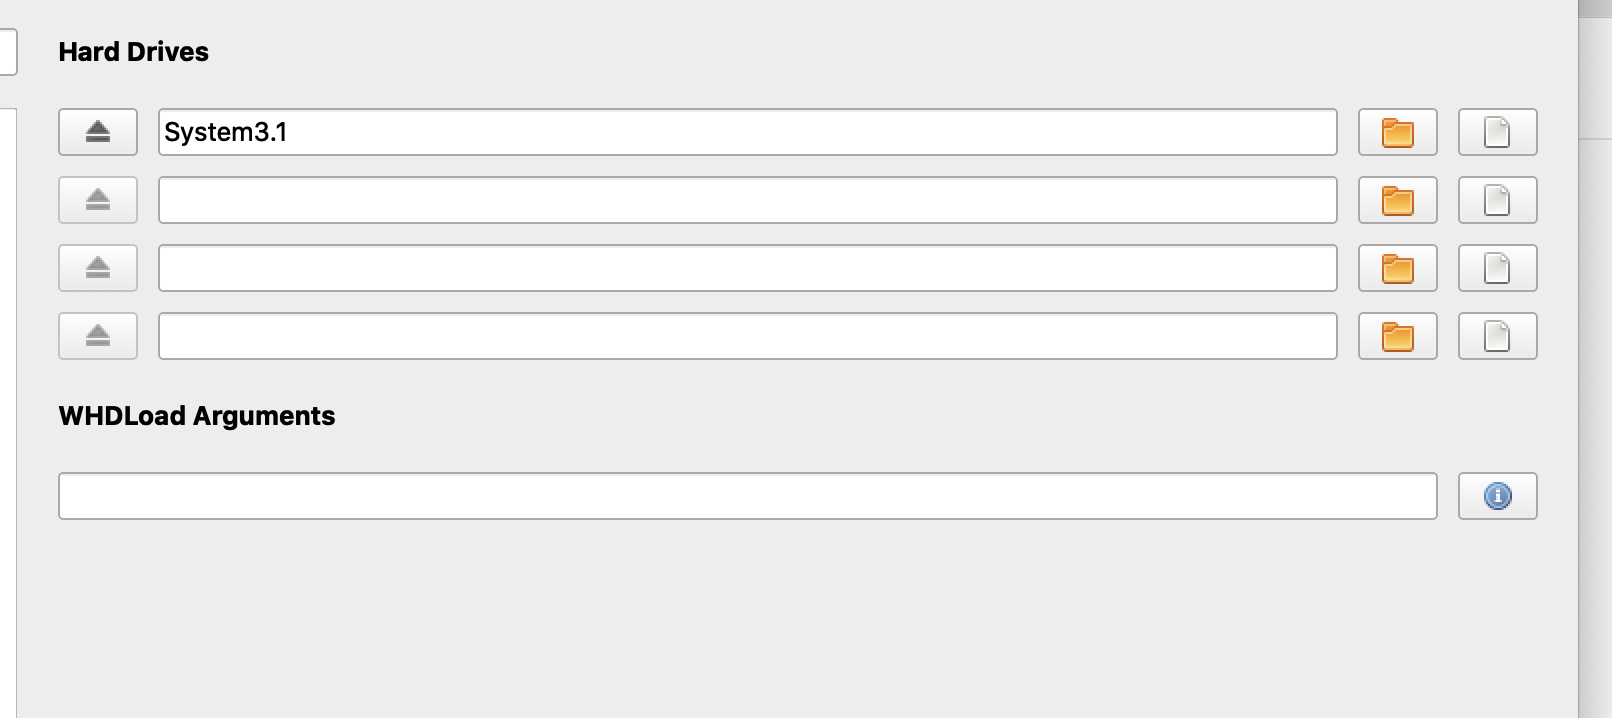
WHDLoad is a system for loading floppy based games from the hard disk, and we'll ignore that for now.
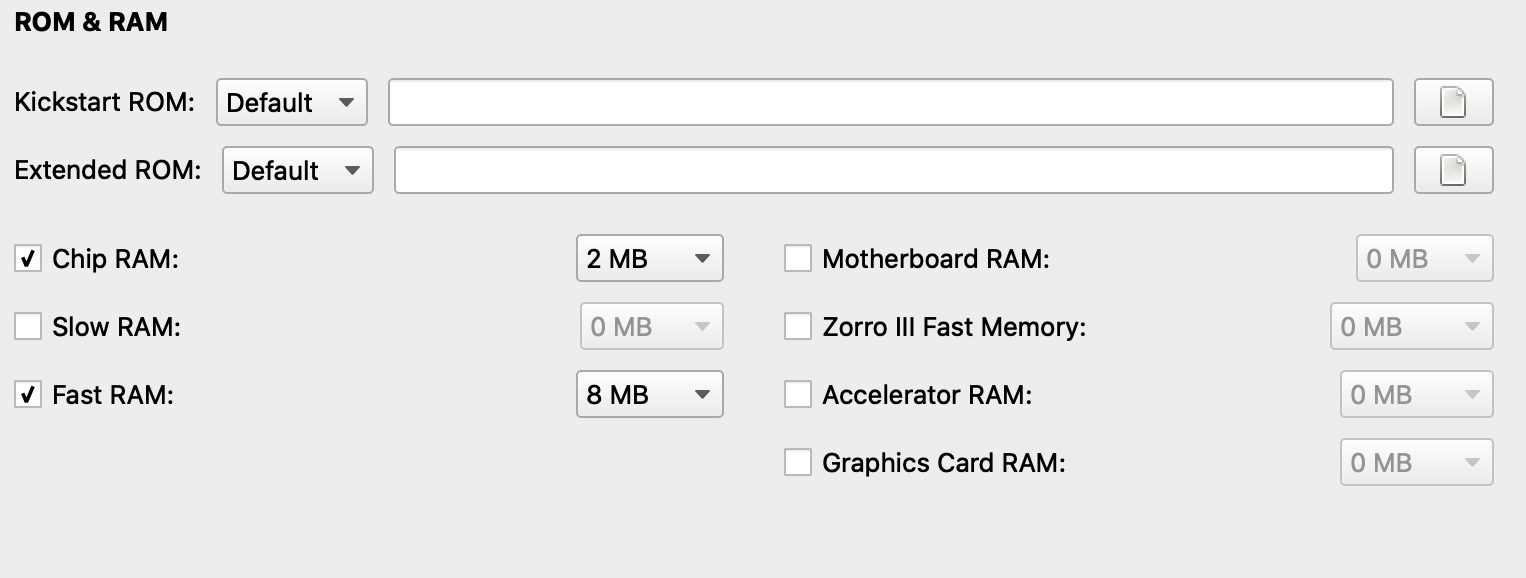
The next tab is for memory. To mimic a maxed out A1200 from 1994 we'll select 2Mb of on-board "chip" RAM that the custom chips can access, and 8Mb of Fast RAM that we would have installed in the trapdoor expansion slot. If we were pretending to be a desktop amiga we could add motherboard ram, and if we had ROMs for an accelerator we could add more there, but for now its a stock A1200 + expansion.
We'll disable the joystick, otherwise FS-UAE steals our cursor keys to use as a fake joystick.

The expansion card tab stays empty. On the last tab, the one concession we'll make for modernity is to up the "Floppy Drive Speed" to Turbo so we're not waiting for the fake floppy to read at real floppy speeds.
With that, we're done. We can save the configuration we made by pressing the little red arrow over on the left.
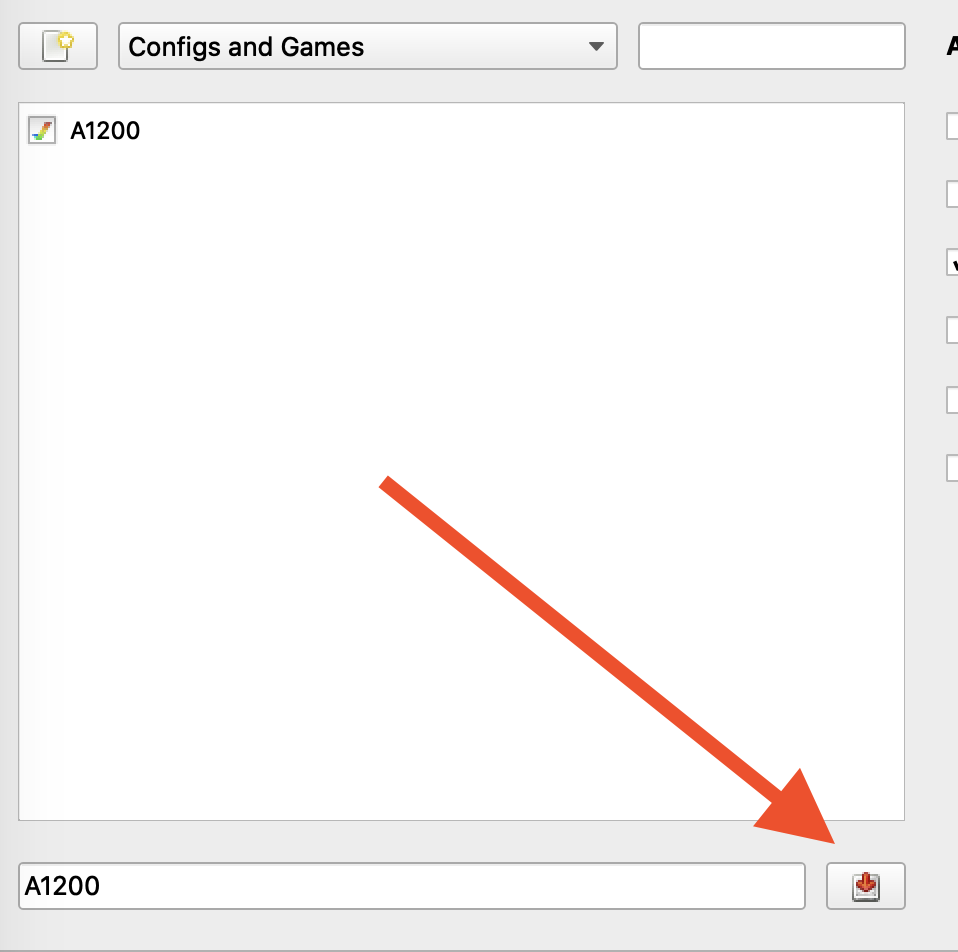
And that's it! We have a fully configured Amiga with a Hard Disk, and 6 floppy disks, 4 of which are sitting in drives, with the install disk in the first drive.
Lets Install Workbench!
We boot the amiga using this Start button in the lower right. The button beside it toggles from Window to Full screen. The mouse capture is a little funky and its super hard to move the window around once it exists, but for now we'll leave it windowed so we can Cmd-Tab out of the emulator and leave it visible if we need to.

Click the start button and enjoy your Amiga's Fancy Hi Res display! It's booting from the Install floppy, but thanks to out sped up floppy drive speed it should happen pretty quickly.
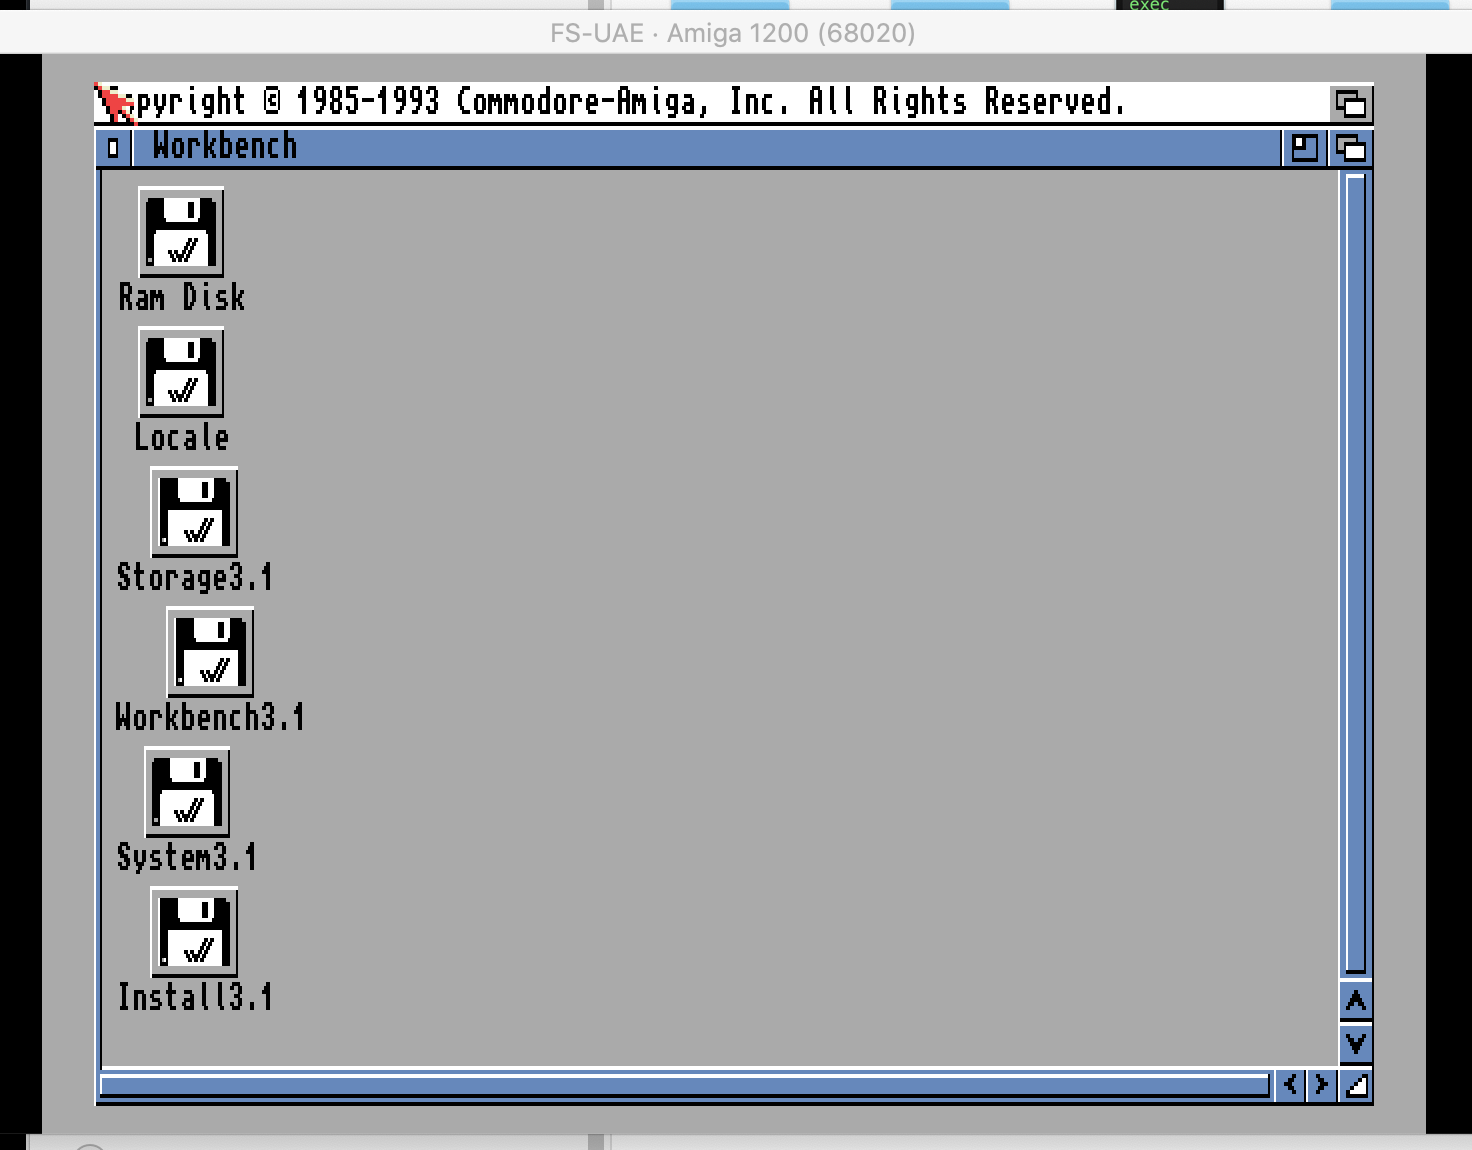
You can see the four floppies, plus the System3.1 Hard Disk (with a wrong icon) and the RAM disk, a fake drive that Amiga creates for us to store scratch files.
Double Click on the Install3.1 disk, the Install folder, and then the English installer (other languages are available so feel free to go your own way).
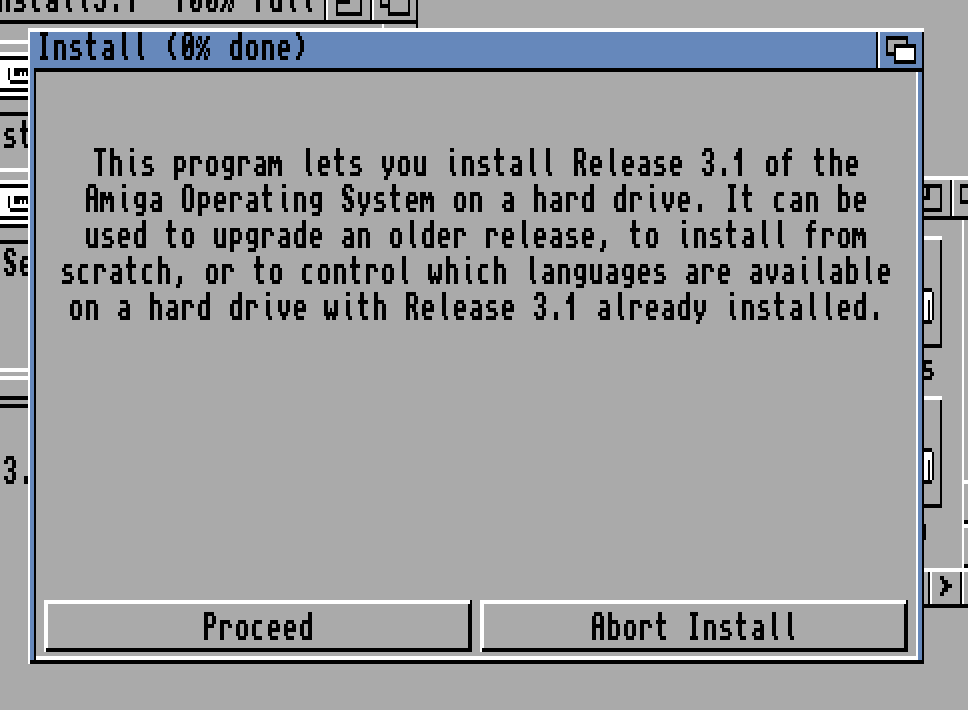
We'll click Proceed, and then "Install Release 3.1", You can choose a different installation mode if you're curious but just going with Novice gets us there with the minimum of fuss.
I chose English for the language and did not bother with any printer drivers, and the British keymap.
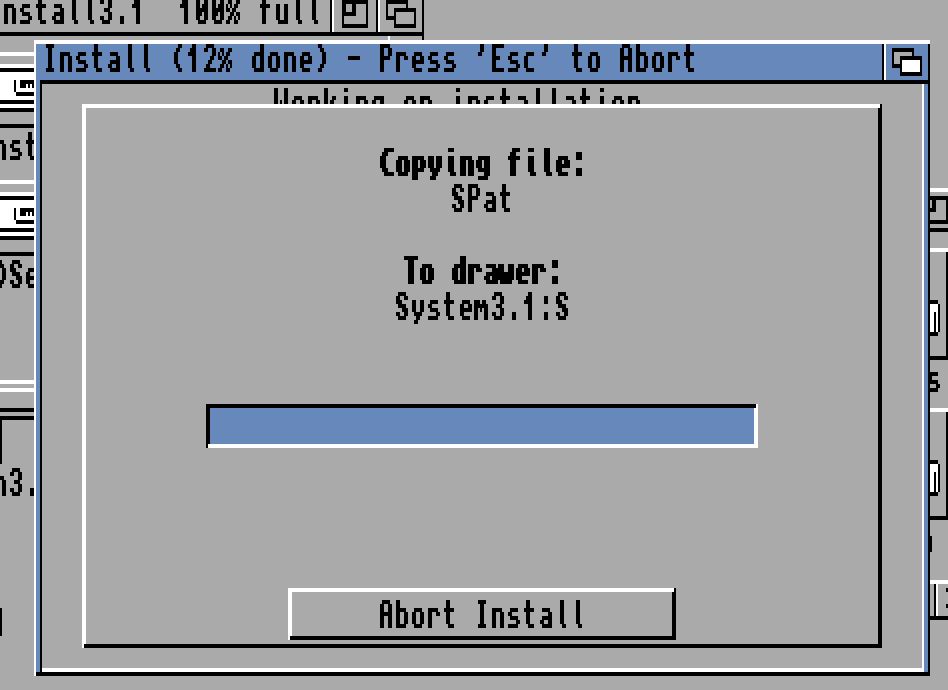
And we're off!
At some point you'll see a dialog like this, which means its time to swap a floppy. (6 disks, 4 drives).
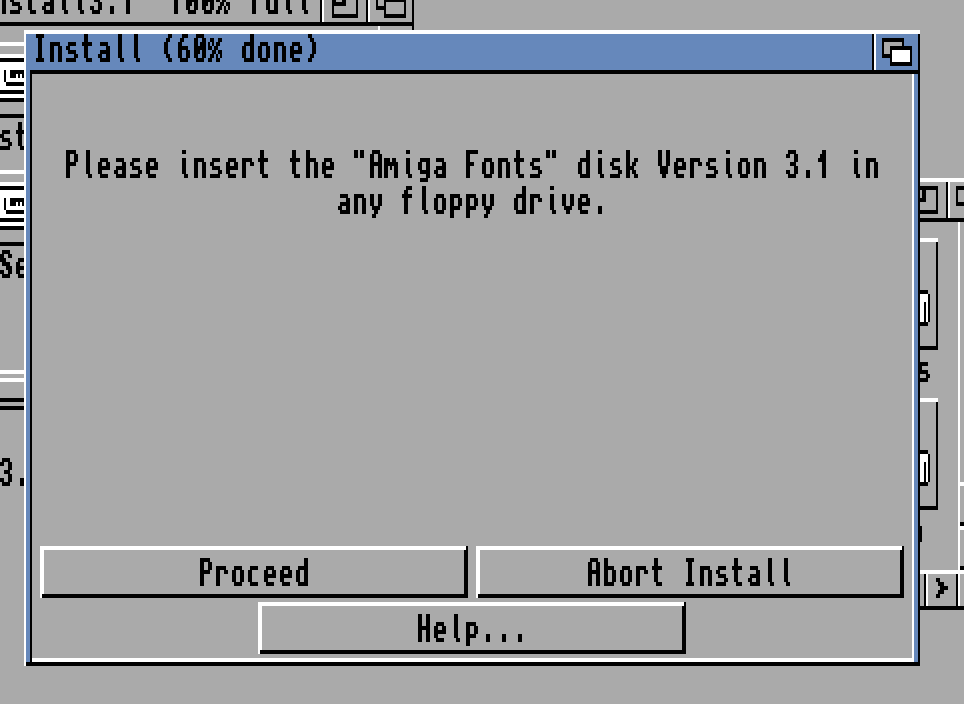
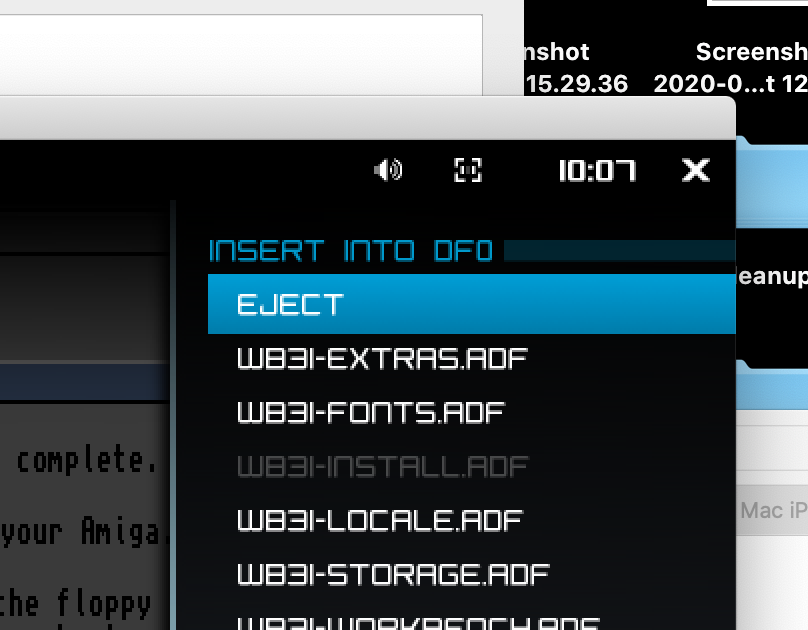
We access the magic menu for this using F12. On a Mac keyboard you may need to use the Fn key to make F12 be something other than volume.
When you hit F12 you'll see this.
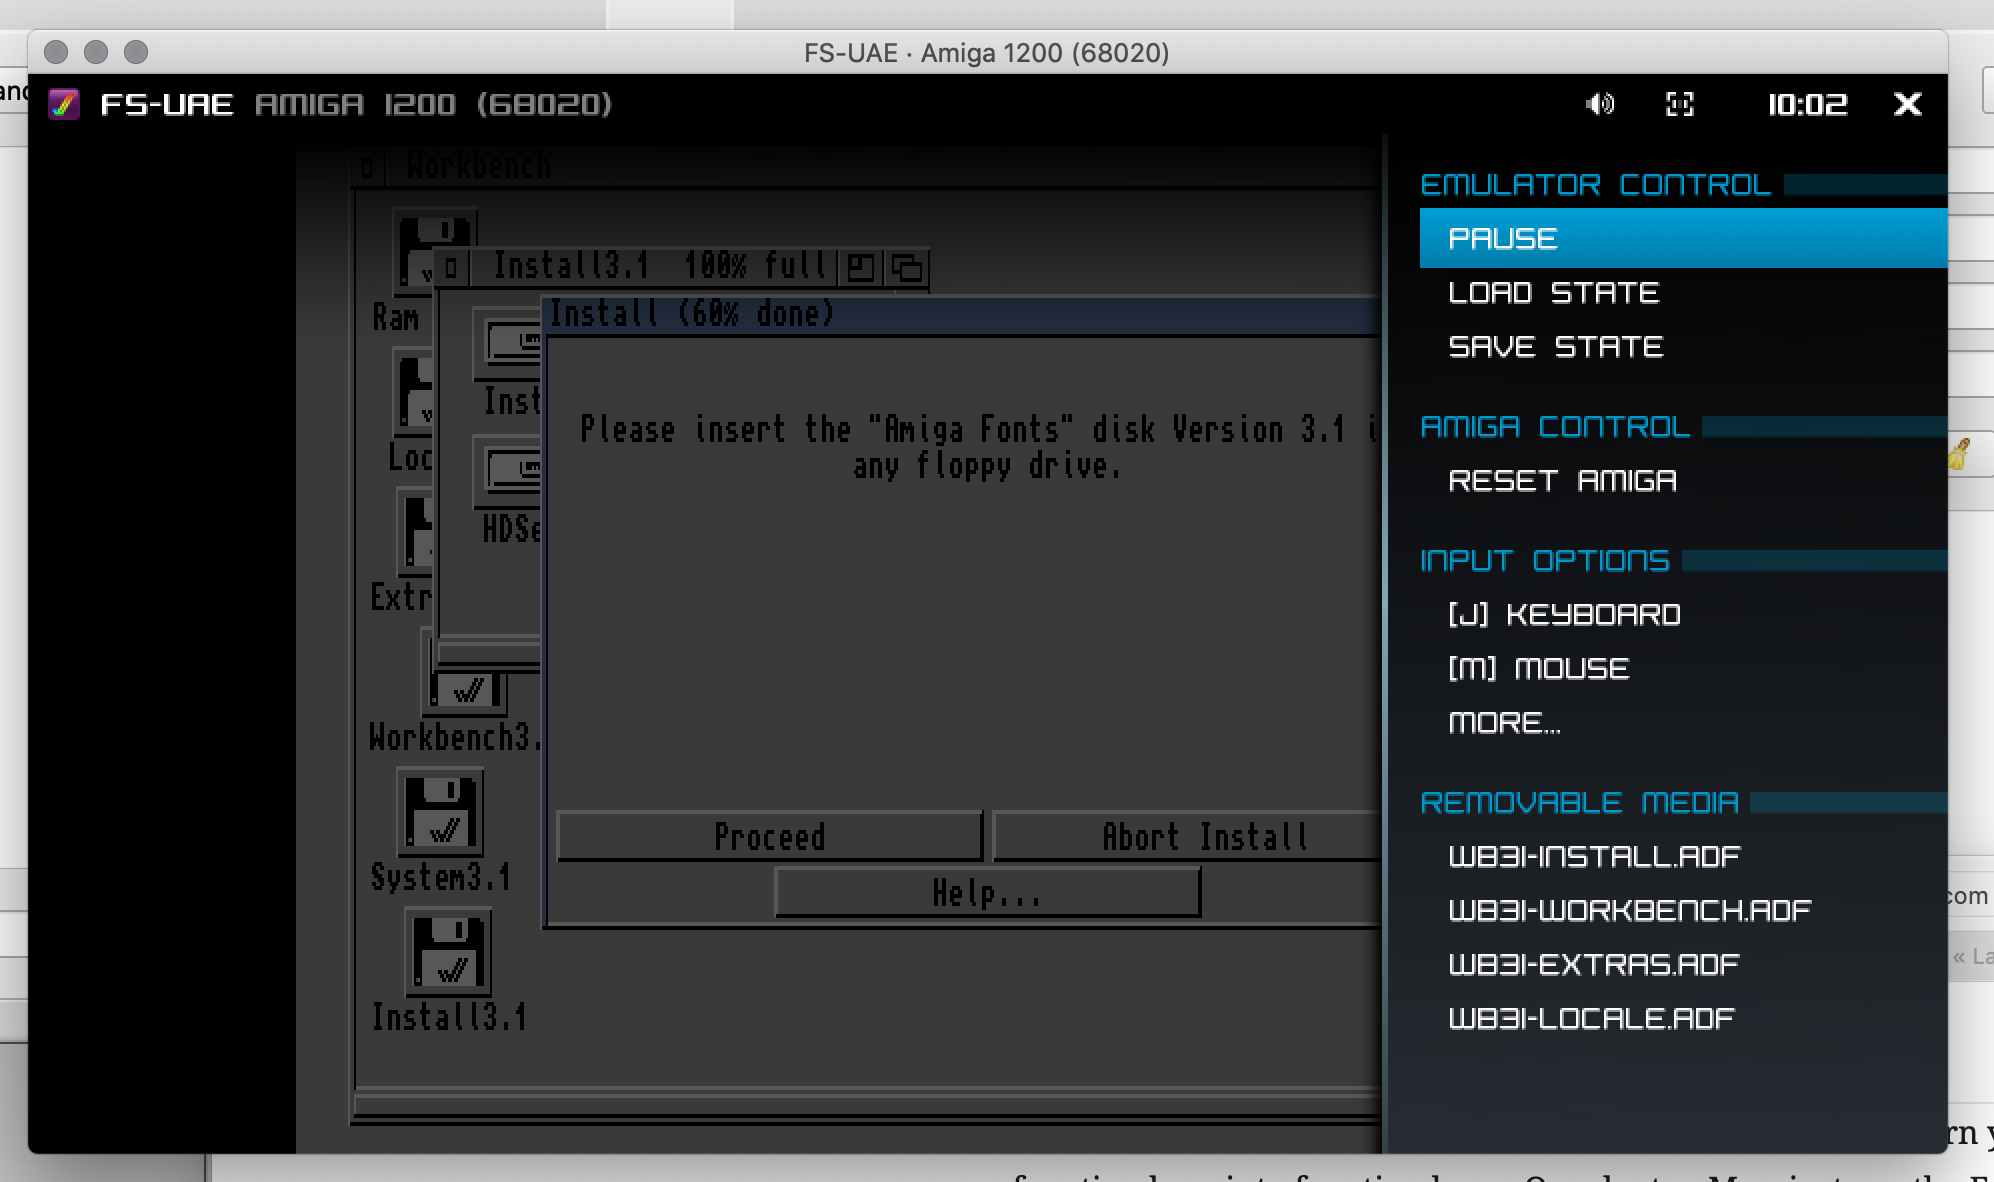
Once this menu is open we need to use the cursor keys to navigate up and down. Lets go down to extras and hit return.
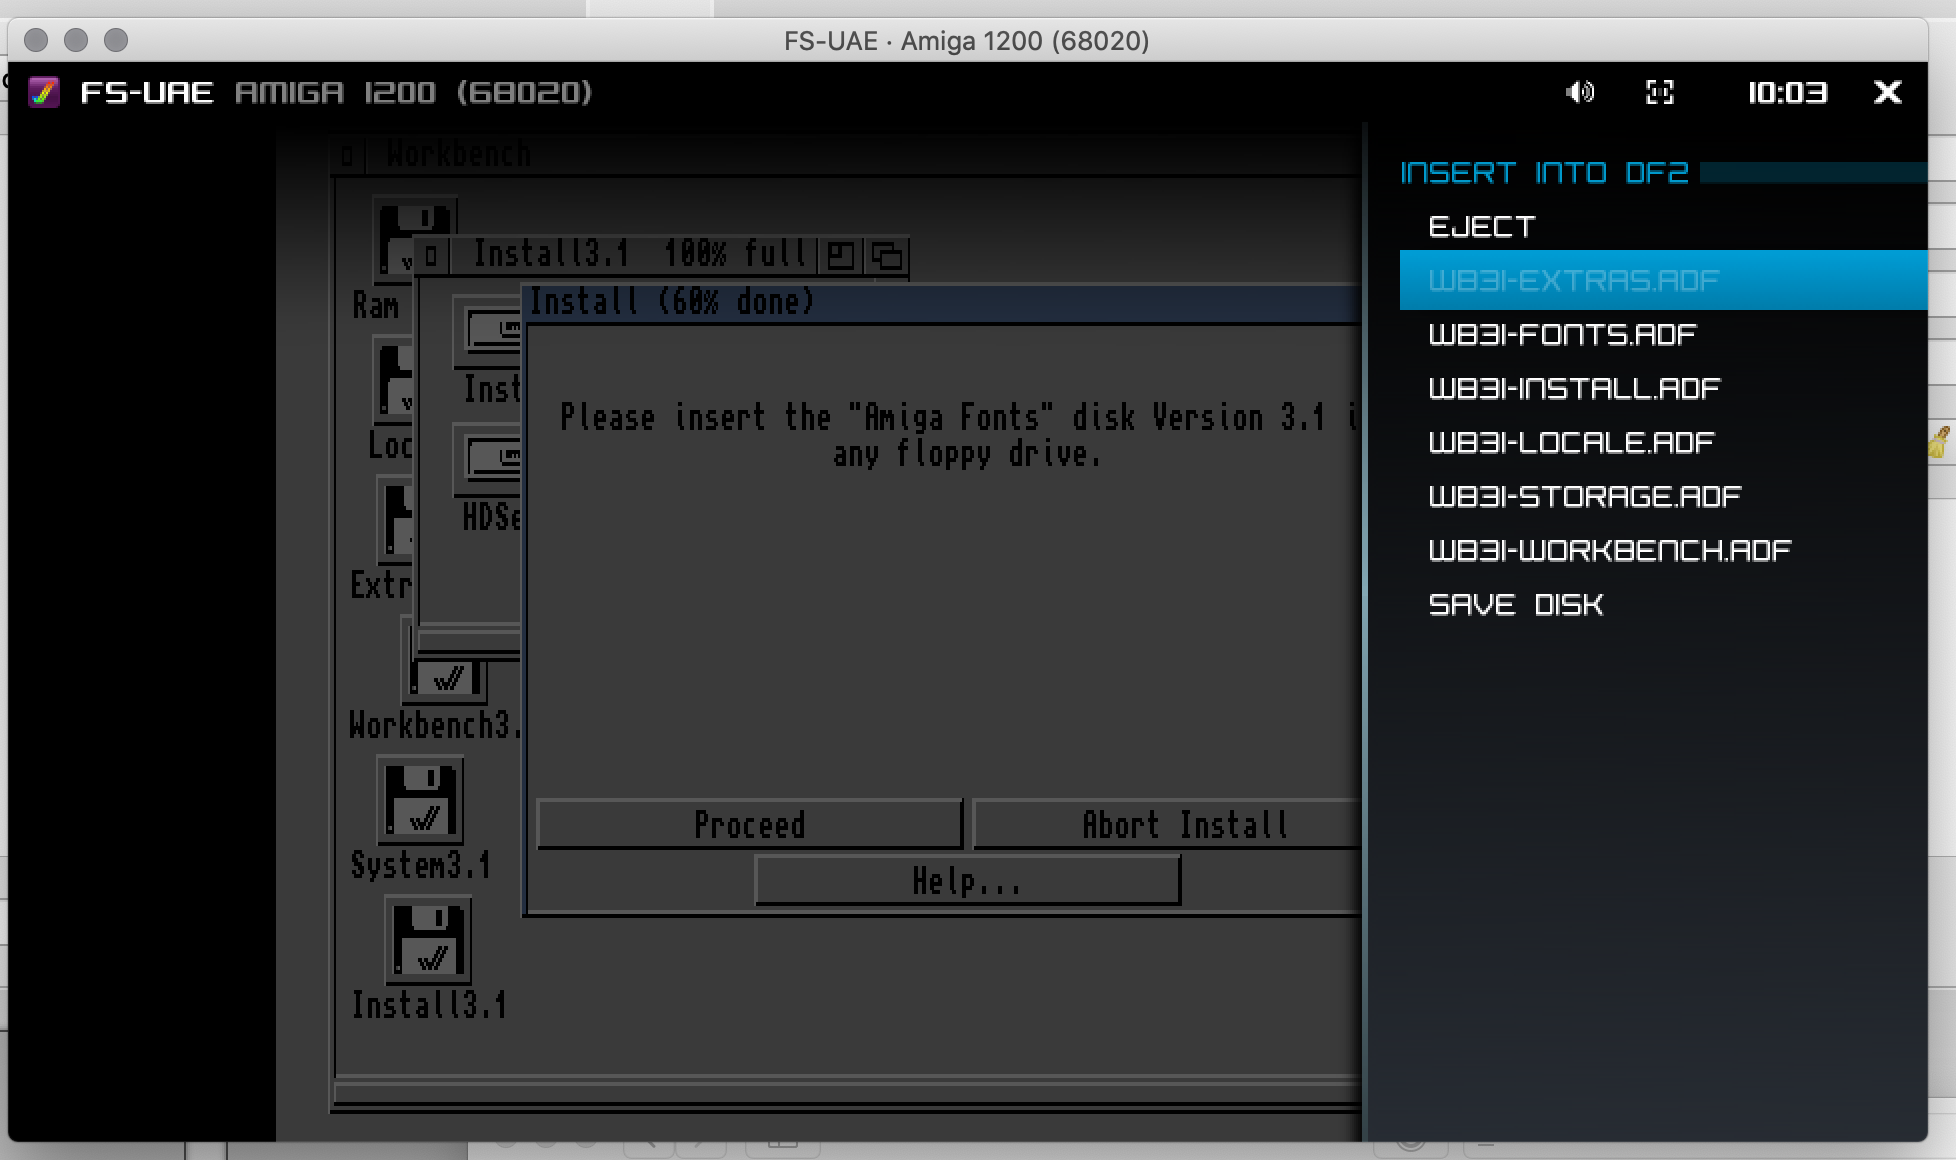
We can just eject the disk, or replace it with another from our "Media Swap List". Lets go down and select Fonts. The menu disappears and if you give the Amiga a second it will recognise the new disk and resume without you clicking proceed.
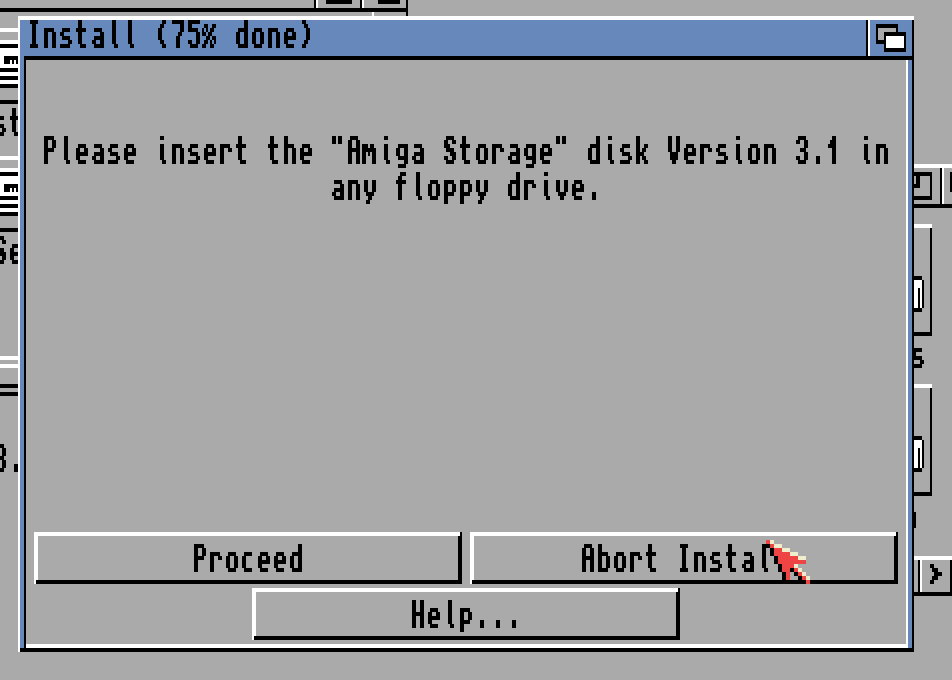
Same again, F12, cursor down to Fonts, hit return, select the storage floppy and let the Installer continue.
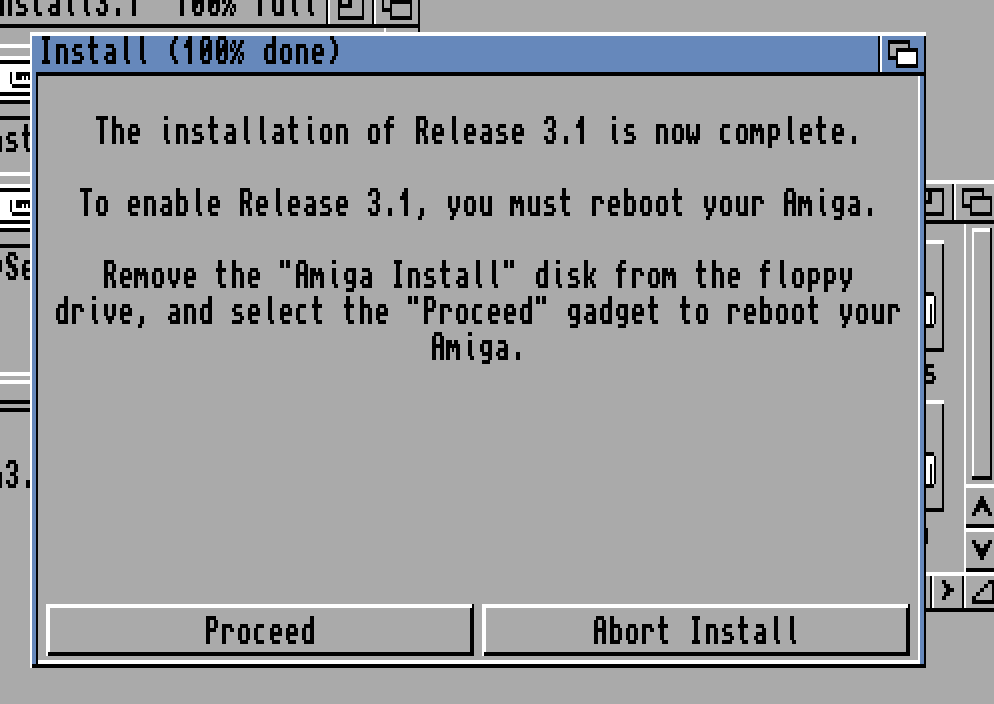
And we're done!
Hit F12, cursor down and select the Install disk, and Eject.
Click Proceed to reboot the Amiga from the hard disk!
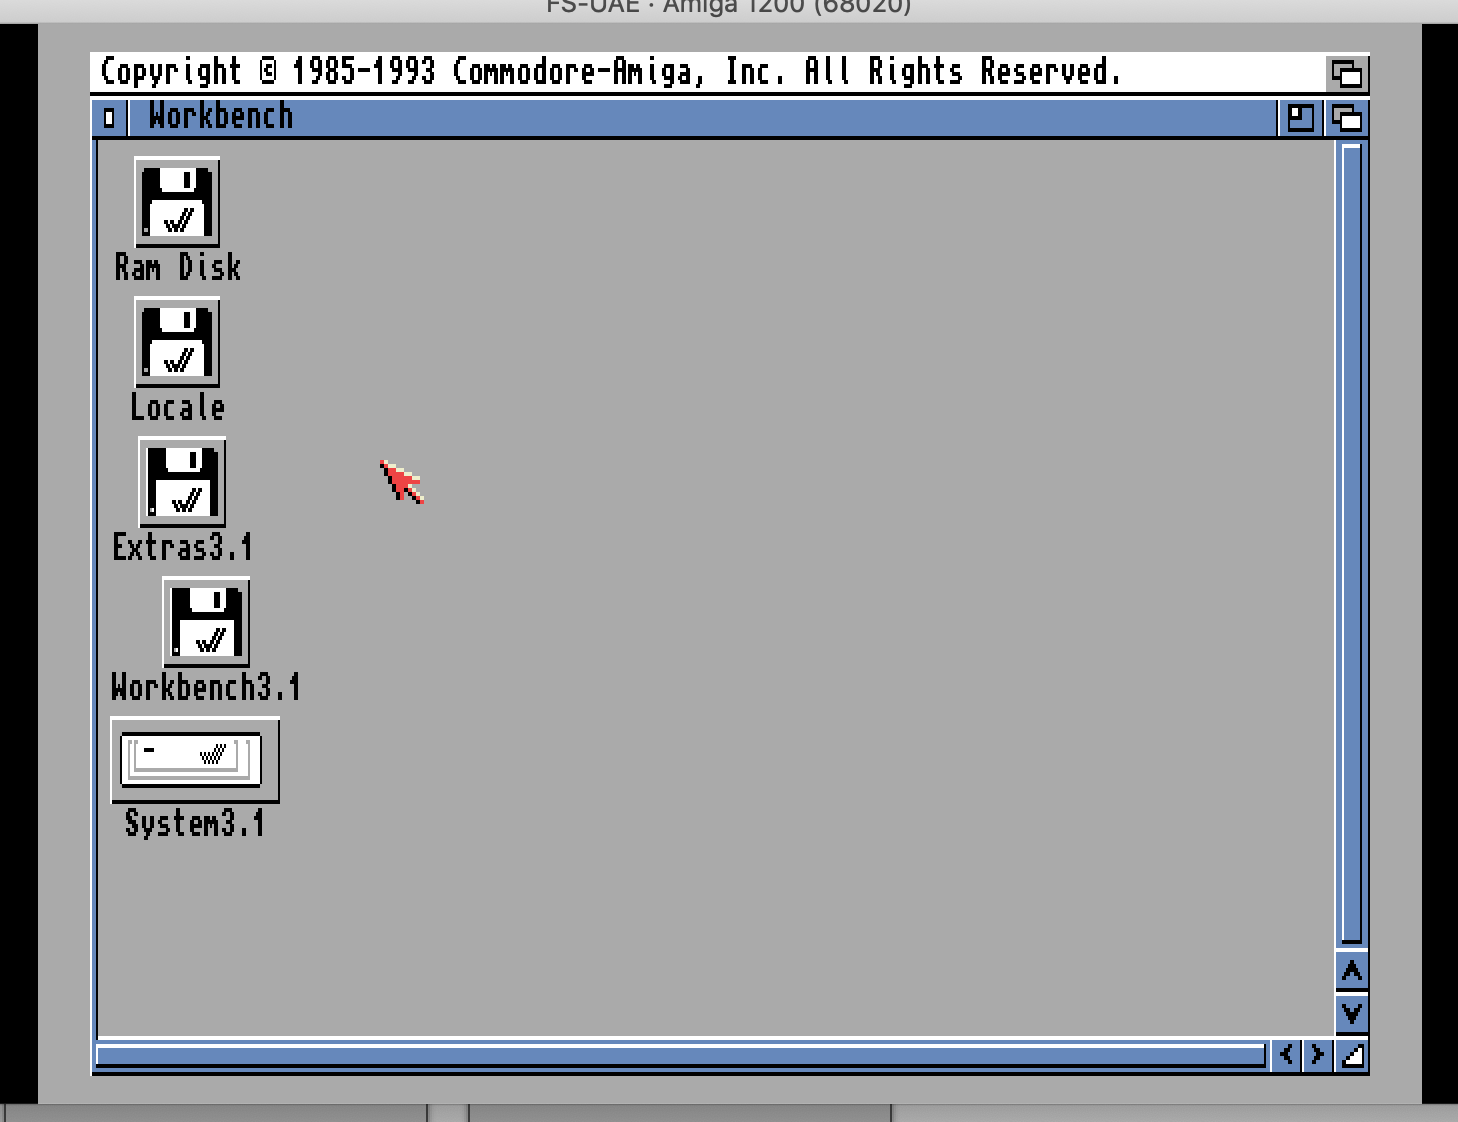
Behold your new Amiga!
One last cleanup step. Cmd-Tab to the launcher app and go to the floppies tab. We want to eject all the floppies here and use the little yellow button to clear the media swap list.
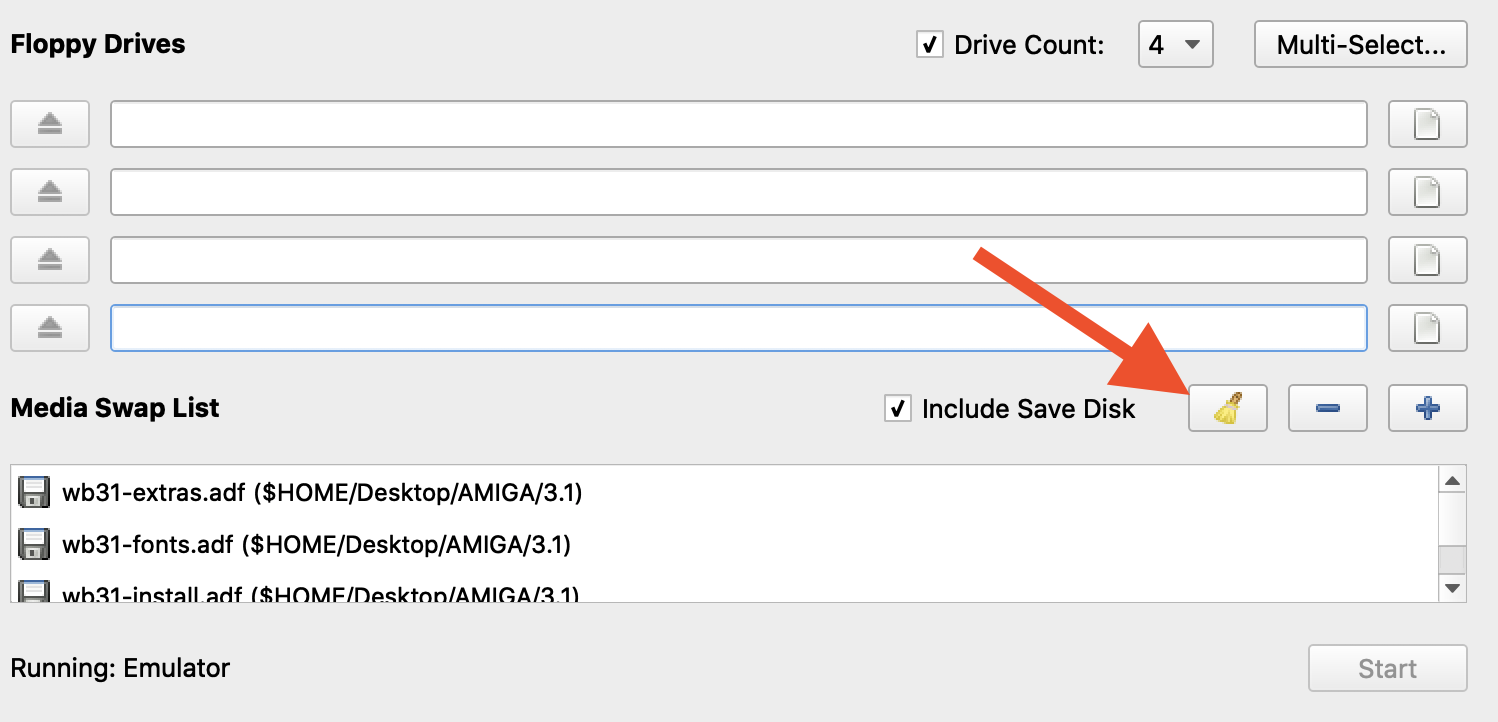
Now when we next boot the Amiga, we'll have our hard disk and no floppies around to confuse us.
In the next post we'll talk about adding a second Hard Disk, a C compiler and the system headers for building Amiga programs!